WHEN TO PLANT GARLIC:
Garlic can be planted in spring or fall, but we have found fall is a better choice for planting, as garlic does best when it is in the ground for 8-9 months. This is because most subspecies of garlic need at least 30 or more cold days below freezing in order for the garlic to complete the vernalization process and for the bulb to split into individual cloves. If the cold treatment doesn’t occur (either naturally during fall planting or forced in a freezer for spring planting) the plant ends up looking like a green onion without a bulb, and is unsaleable.
Garlic is typically planted in the northern United States between late September through the end of November- shortly after the first frost, and about 6-8 weeks before the ground freezes. Here in Wisconsin at Tamarack Garlic Farm we aim to plant our garlic around the second weekend in October. We advise you do your own research as to average frost dates, average ground freeze dates for your area to make a well-educated decision on your planting date.
WHERE TO PLANT GARLIC:
Research shows that garlic grows best with a soil pH in the 6.0-7.0 range. Plant garlic in rich soil that is at least 6″ deep, with good drainage and a minimum of 8 hours of sunlight. Garlic likes moist, cool spring weather, but cannot tolerate constant wet conditions, extreme dry conditions, or conditions that are too hot. Garlic will also show stress above 85-90°F. Good soil drainage, and having a soil (along with mulch that retains moisture) can help ensure large bulb size. Rotating garlic planting locations so it is not planted in the same location more than once every 3-4 years helps prevent serious soil-borne diseases from causing severe crop damage.
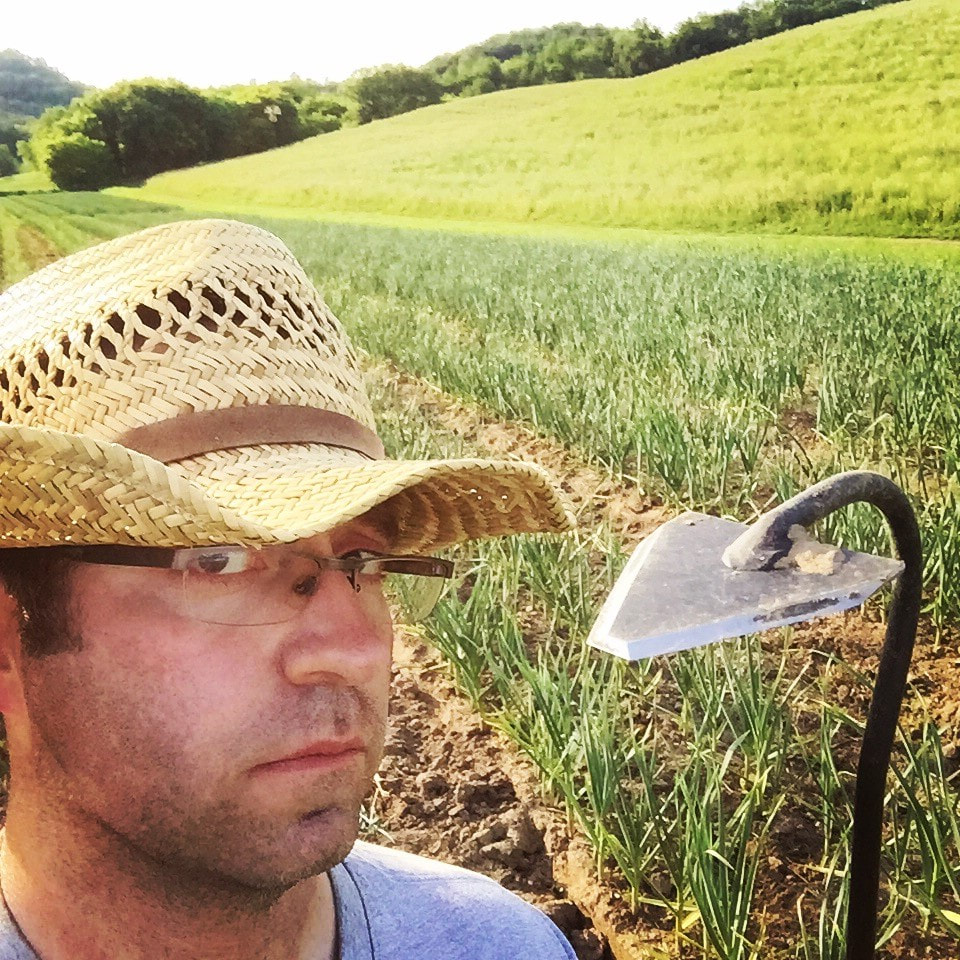
HOW WE PLANT GARLIC:
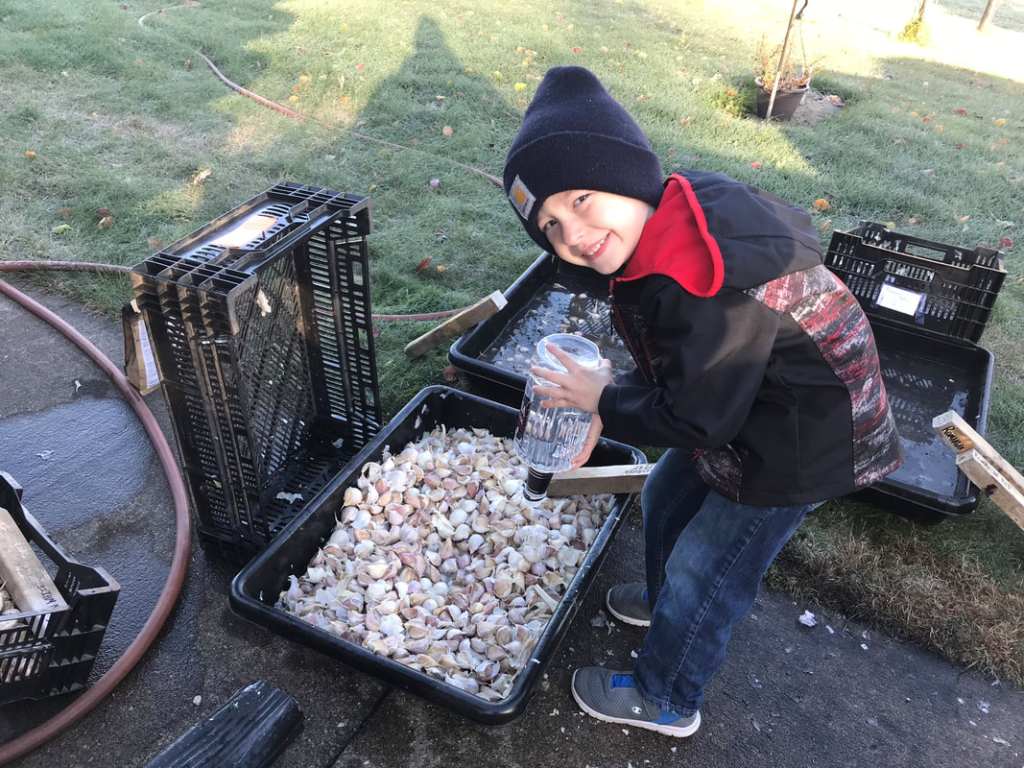
We split each bulb into cloves prior to planting, ideally no more than 48 hours prior to planting. At Tamarack Garlic Farm, we give our cloves a quick dip in vodka or isopropyl alcohol for 15 minutes, and immediately follow up with soaking our garlic cloves in an OMRI organic approved 5-1-1 Fish Emulsion fertilizer for 1-3 hours and mycorrhizal fungi to promote fall root growth to help get a jump start on bulb size in the spring. Not saying you have to do this…but we feel it is a good “insurance policy” for us.
A good tip is to plant the largest cloves and eat the smallest cloves. The science behind this theory is that the larger the seed clove is, the larger the newly-formed bulb will be. The clove should be buried with the root-end down and point-end up, and at least an inch of soil over it. Space each clove 6-8 inches apart down the row. Shortly after planting, adding mulch (i.e. straw, chopped corn stalks, organic dairy compost, leaves, etc) helps keep down weeds, helps retain moisture, and helps prevent clove upheaval in the spring due to unthawing of the soil. Rows can range from be 6″ – 20″ apart, depending on the type of gardening space and/or equipment that is available to you. Our raised beds are about 46″ wide with three rows in each because we are using large-scale agriculture equipment. We know growers that produce just as many plants as we do and use push tillers, atv’s or utv’s to plow their land. Use what fits your needs, and budget.
HOW TO PROVIDE CARE FOR GARLIC:
In northern climates such as ours, garlic will break through the mulch and soil surface and be exposed to light in mid/late March or early April. When it starts to grow rapidly, a nitrogen-rich foliar fertilizer spray can be applied every two or three weeks to promote rapid leaf growth which increases bulb size.
| Table Header |
|---|
| Scapes on hardneck garlic can be removed when they are 12″ long and have about 3/4 of a curl. Bulbs allowed to grow with their scapes tend to produce smaller bulbs, as they put energy into the scape instead of the bulb in the ground. You should water your garlic if it gets dry, but having a light amount of mulch between plant rows can help keep in moisture, as well as serve as a weed barrier. Garlic will not produce well without sufficient moisture. And finally, refrain from watering in July, as you want the plant to start to dry down for harvest time for most garlic. |
WHEN TO HARVEST:
Did you know that each leaf on a garlic plant corresponds with a wrapper around the bulb? Mature garlic plants will have up to 10 leaves on the plant. Sometimes the bottom one or two leaves fall off for various reasons before harvest, so there may be 8 or 9. Regardless, count your leaves. We advise harvesting when you have 4-5 green leaves remaining, and the rest have turned yellow. Harvesting too early, the bulbs will not reach peak size, whereas harvesting too late, the wrappers can begin to split and you will lose “good” wrappers that allow the bulb to store for long periods.
The most bulb growth happens the two weeks after the scapes have been harvested on hardneck garlic. All-in-all, we figure there is about a 10-day window to pick bulbs when they are close. We tend to pick a bit early versus late to have a garlic crop with good, marketable wrappers. With our scale of operation, we may did a couple days early vs late if it looks like rain in the forecast keeping our tractor and machinery out of the field.
Scapes on hardneck garlic can be removed when they are 12″ long and have about 3/4 of a curl. Bulbs allowed to grow with their scapes tend to produce smaller bulbs, as they put energy into the scape instead of the bulb in the ground. You should water your garlic if it gets dry, but having a light amount of mulch between plant rows can help keep in moisture, as well as serve as a weed barrier. Garlic will not produce well without sufficient moisture. And finally, refrain from watering in July, as you want the plant to start to dry down for harvest time for most garlic.
HOW TO PROVIDE CARE FOR GARLIC:
After harvest you can hang your garlic in bunches or put them on a rack to cure, it doesn’t matter. Garlic needs to cure for about 3-5 weeks (depending on humidity) away from direct sunlight, with good airflow. Cut final stem length to about 1.5″ and snip roots to about 1/4″. We remove 2 ;ayers of wrappers to make the bulbs pretty. You can do that fresh from the field y pulling back the bottom 2 leaves, or removing 2 layers of wrappers should flake/peel of when fully cured. How you do it is up to you- you’re the garlic farmer!
How Much Garlic Seed Do I Need?
When planning your garlic garden, it is important to know an approximate amount of cloves you will receive in each pound you order of seed stock, as this number varies among varieties. We consider seed stock as bulbs that are at least 2.00” in diameter or larger.
** Start by measuring the size of your field or garden. You’ll need to know: how many rows, how long are the rows and what is the plant spacing in the rows (recommended 5-6” apart). Then multiply the # of rows times the row length. Convert the total length of rows to inches and divide by your plant spacing. This will equal the number of plants (cloves) needed.
Then use the chart below to determine how many pounds of each variety you would need:
Calculating Number of Seeds (Cloves) per Pound
Category Sub Species Variety Avg. Cloves Per Pound
Hardneck Porcelain Georgian Fire 52
Hardneck Porcelain Great Northern White 48
Hardneck Porcelain German Extra Hardy 40
Hardneck Porcelain . German White 40
Hardneck Porcelain Romanian Red 44
Hardneck Porcelain Russian Red 44
Hardneck Rocambole German Red 60
Hardneck Rocambole Tamarack 48
Hardneck Purple Stripe Chesnok Red 64
Hardneck Purple Stripe Persian Star 56
Hardneck Marbled Purple Stripe Bogatyr 32
What can you expect each variety to grow?
Subspecies Est. Yield per lb Planted
Porcelains 6
Purple Stripes 9
Rocamboles 7
Artichokes 11
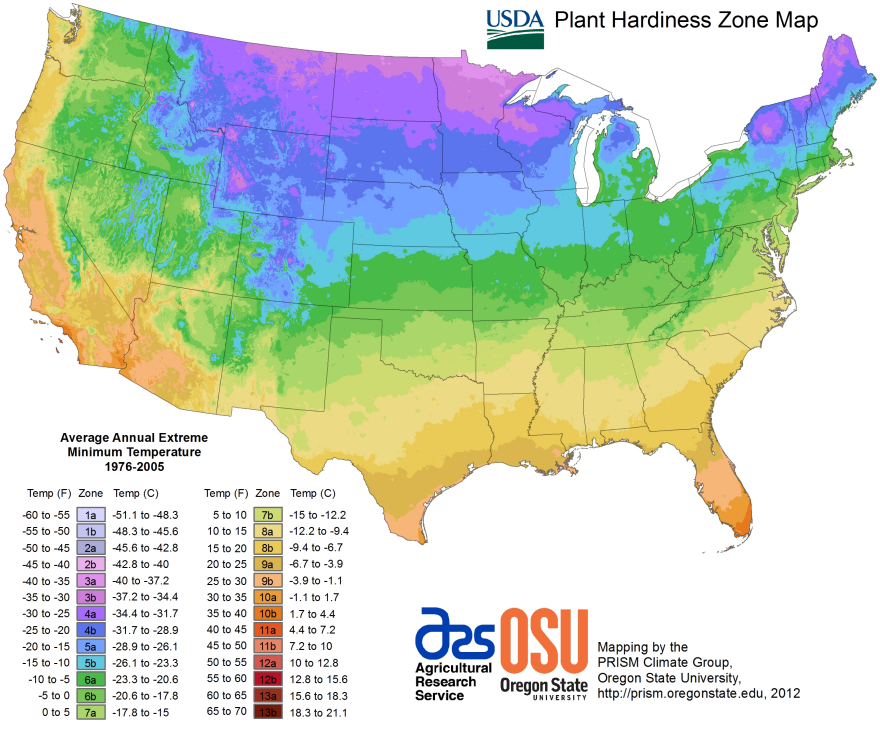
What Garlic Varieties should I grow in my location?
The United States Department of Agriculture has established a “Plant Hardiness Zone Map” which categorizes the United States into similar growing climates. From our own, we recommend growing the following sub-species in the listed zones. To find your zone, check out the map or use
https://planthardiness.ars.usda.gov/phzmweb/Default.aspx to type in your zip code. These are our recommendations per sub-species of garlic:
| Column 1 | Column 2 |
|---|---|
| Artichokes Zone 4 or higher *Creoles Zone 8 or higher *Turbans Zone 6 to 9 *Asiatics Zone 4 to 9 Porcelains Zone 3 to 7 Marbled Purple Stripes Zone 3 to 8 Purple Stripes Zone 3 to 7 Rocamboles Zone 3 to 6 *Silverskins Zone 6 to 8*Denotes Sub-species not available from Tamarack Garlic Farm, but we can direct you to some reputable growers that provide these sub-species. |
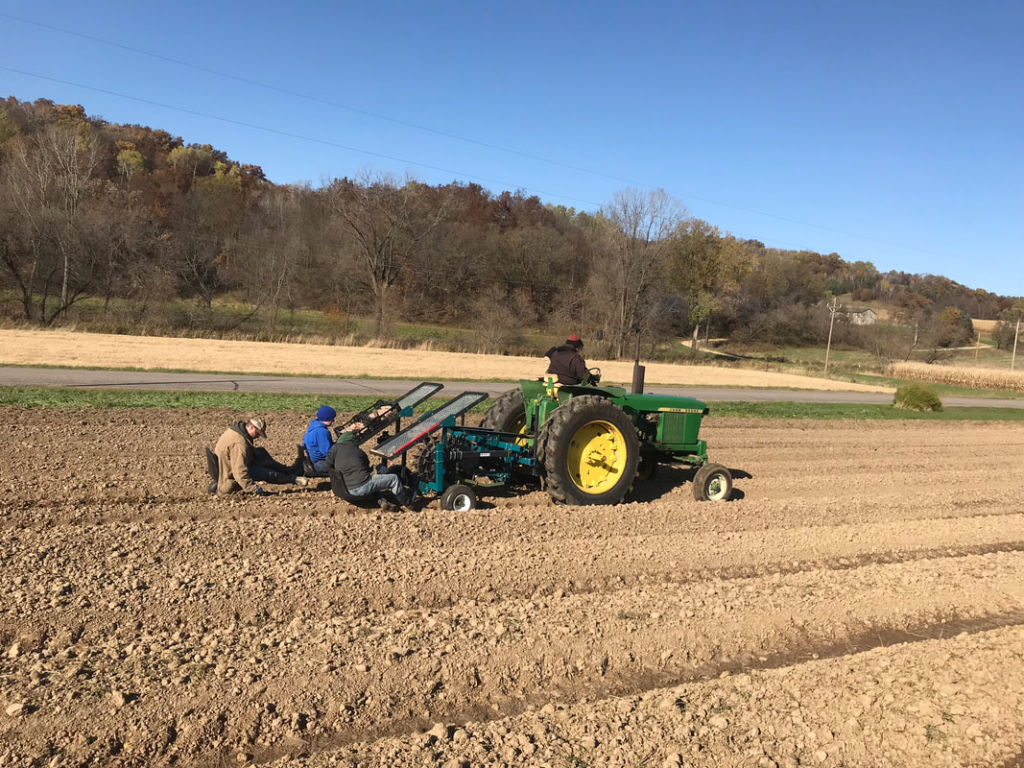
| http://www.youtube.com/embed/lWwYhGOt2nI?wmode=opaqueOur Premium Gourmet Garlic is harvested in early July. Check out how we loosen the soil underneath the bulbs in order to pull them out! |